The cart page is one of the most overlooked moments in a WooCommerce store. A customer has already decided to buy something, they’re past the browsing stage, past the “will I actually buy this” hesitation, and looking at their cart before heading to checkout. This is exactly the moment to show one more relevant offer, because the customer’s buying intent is already confirmed.
WooCommerce doesn’t give you this out of the box. The default cart page just shows what’s already there, a quantity field, and a coupon box. If you want to recommend a higher-value or complementary product right on that page, you need a plugin built for it.
This guide walks through how to set up a cart upsell campaign from scratch using PickPair, covering trigger products, offer configuration, design, visibility rules, scheduling, and testing, so you end up with a working, live cart upsell by the end.
What Is a WooCommerce Cart Upsell?
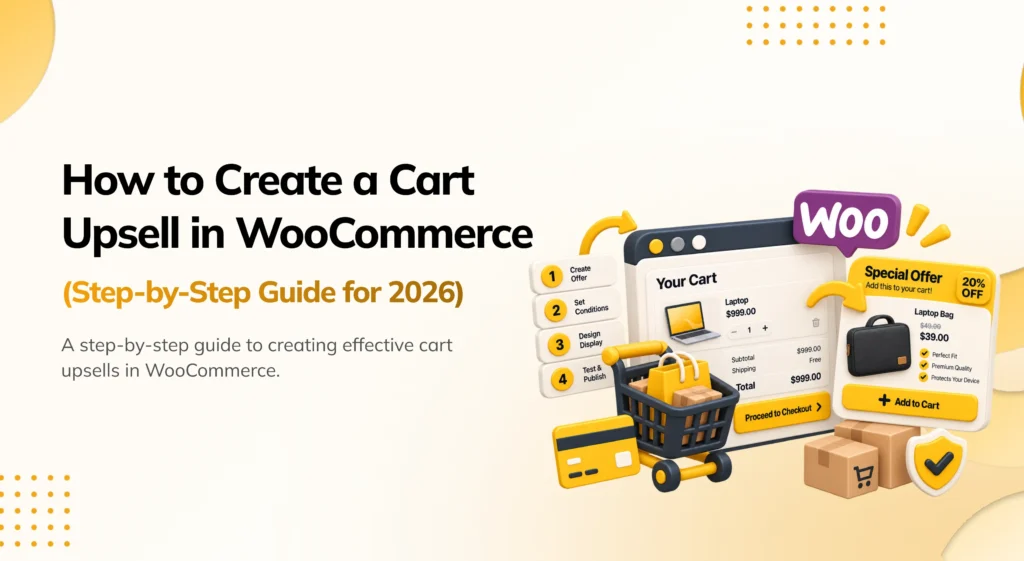
A WooCommerce cart upsell is a product recommendation displayed on the cart page based on what a customer has already added to their cart.
Unlike a product-page recommendation, a cart upsell appears after the customer has made a purchase decision and added an item to the cart.
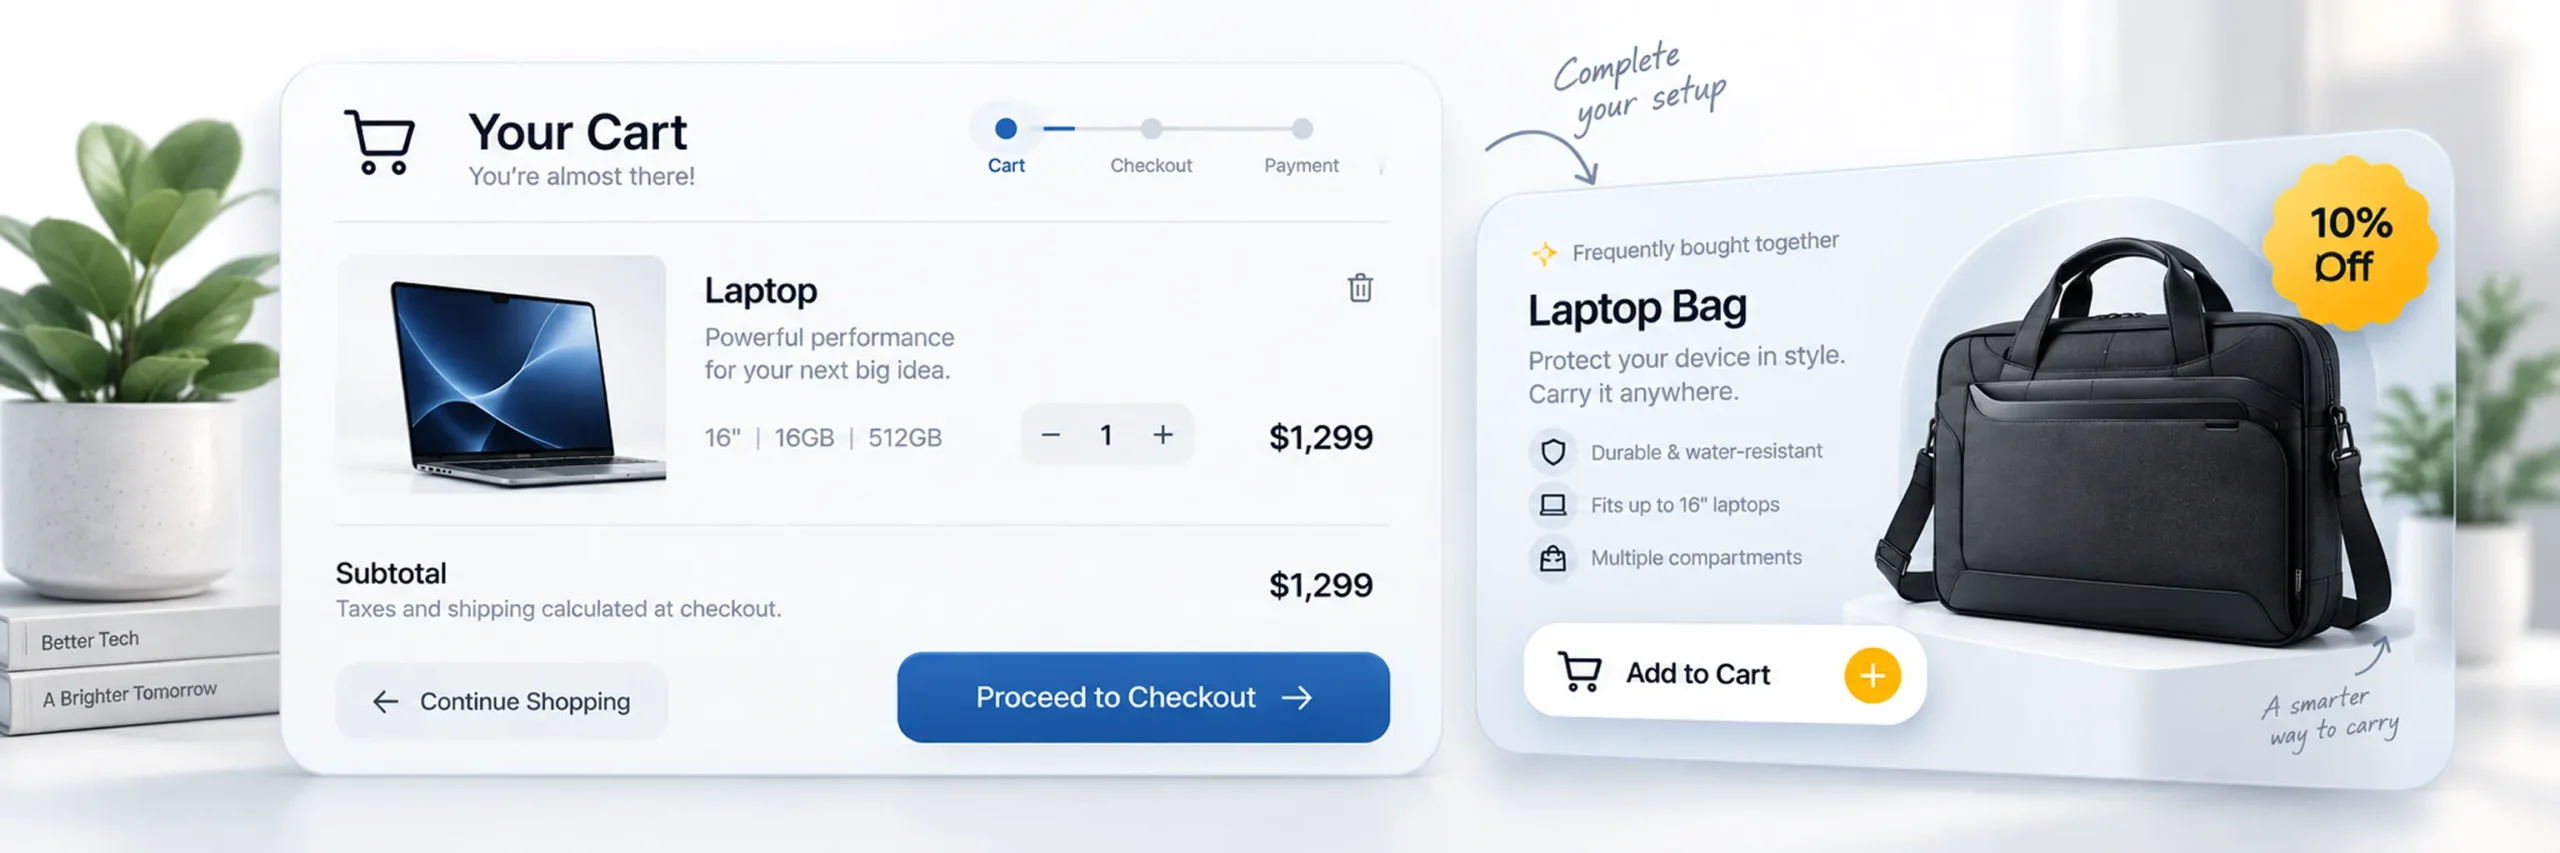
This makes the cart page an important opportunity to increase the average order value (AOV) without disrupting the customer’s initial shopping journey.
A cart upsell can be used to recommend:
- Complementary products.
- Accessories.
- Product upgrades.
- Extended warranties.
- Premium versions.
- Limited-time offers.
- Related products.
With PickPair, the offer can be triggered by any product in the cart, specific products, or products belonging to selected categories.
Why Should You Use Cart Upsells in WooCommerce?
Customers who reach the cart page have already demonstrated strong buying intent. Instead of simply displaying the products they selected, you can use this stage of the buying journey to present one additional relevant offer.
A well-targeted cart upsell can help you:
Increase Average Order Value
A customer who accepts an additional offer spends more in a single transaction, increasing the average value of your orders.
Promote Complementary Products
Cart upsells are particularly useful when two products naturally work together.
For example:
Laptop → Laptop Bag
Camera → Memory Card
Shoes → Shoe Care Kit
Phone → Protective Case
Create Targeted Offers
Instead of showing the same recommendation to every customer, you can create campaigns based on specific products or categories.
Give Customers an Extra Incentive
Adding a percentage or fixed discount can make the recommended product more attractive and encourage customers to add it to their order.
How to Create a Cart Upsell in WooCommerce
With PickPair, creating a WooCommerce cart upsell involves setting up the campaign, selecting the trigger and offer products, configuring the discount, customizing the appearance, defining visibility rules, and testing the campaign.
Let’s go through the process step by step.
Step 1: Open PickPair and Start a New Campaign
Start from your WordPress Dashboard.
- Log in to your WordPress Dashboard.
- Click PickPair in the left-hand menu.
- Open Campaigns.
- Click + Create Campaign.
This opens the campaign type selector, where you’ll choose what kind of offer you’re building.
Step 2: Choose the Campaign Type
Since you’re building a cart-page offer, select Cart Upsell from the list of campaign types, then click Create Campaign.
This opens the campaign editor, which is broken into four steps: Products, Offer, Design, and Rules. You’ll move through each one in order.
Step 3: Name Your Campaign
Give the campaign an internal name so you can identify it later in your campaign list. This name isn’t shown to customers, it’s purely for your own reference.
A few naming examples:
- Premium Headphones Upsell.
- Laptop Accessories Upsell.
- Extended Warranty Offer.
Once you’ve entered a name, click Continue to move into Step 1 of the editor.
Step 4: Select Trigger Products
Trigger products determine when the cart upsell will actually appear. This is the condition that decides whether a given customer sees your offer at all.
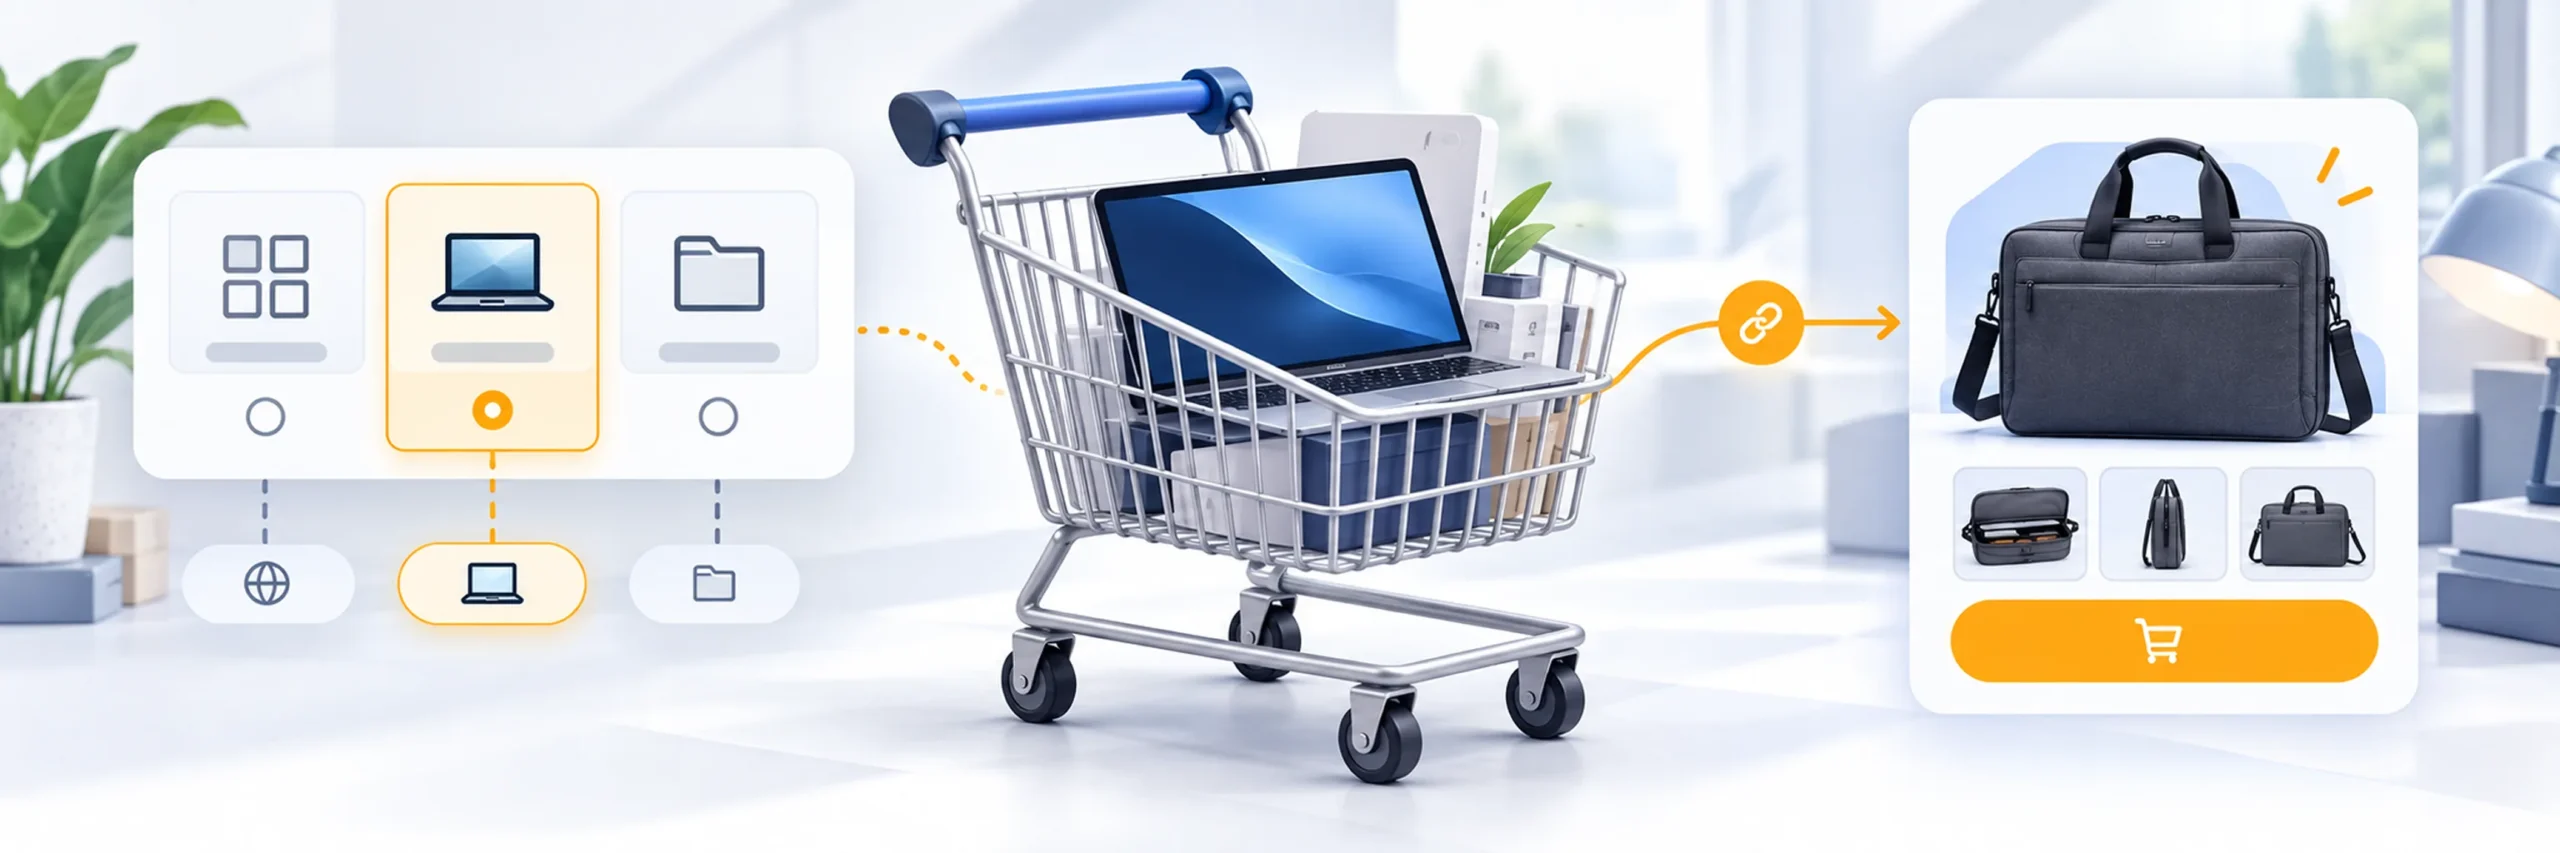
In Step 1: Products, locate Trigger Product and choose one of three types:
- All Products – the upsell appears whenever any product is in the cart, useful for a general, store-wide offer.
- Specific Products – the upsell only appears when particular products you select are in the cart, useful for a tightly targeted pairing.
- Category Based – the upsell appears when any product from selected categories is in the cart, a middle ground between the two options above.
Choosing the right trigger type here matters more than any other single setting. A specific-product trigger tends to produce a more relevant, higher-converting offer than an all-products trigger, since the connection to what’s already in the cart is obvious.
Step 5: Select the Offer Product
The offer product is the item you’re actually recommending to the customer.
Under Offer Product, search for and select the one product you want to promote. Review it carefully before continuing, since only one offer product can be attached to a Cart Upsell campaign.
If you want to promote more than one product depending on what’s in the cart, you’ll need to set up separate campaigns, each with its own trigger and offer pairing.
Step 6: Configure the Discount
Click next to move into Step 2: Offer.
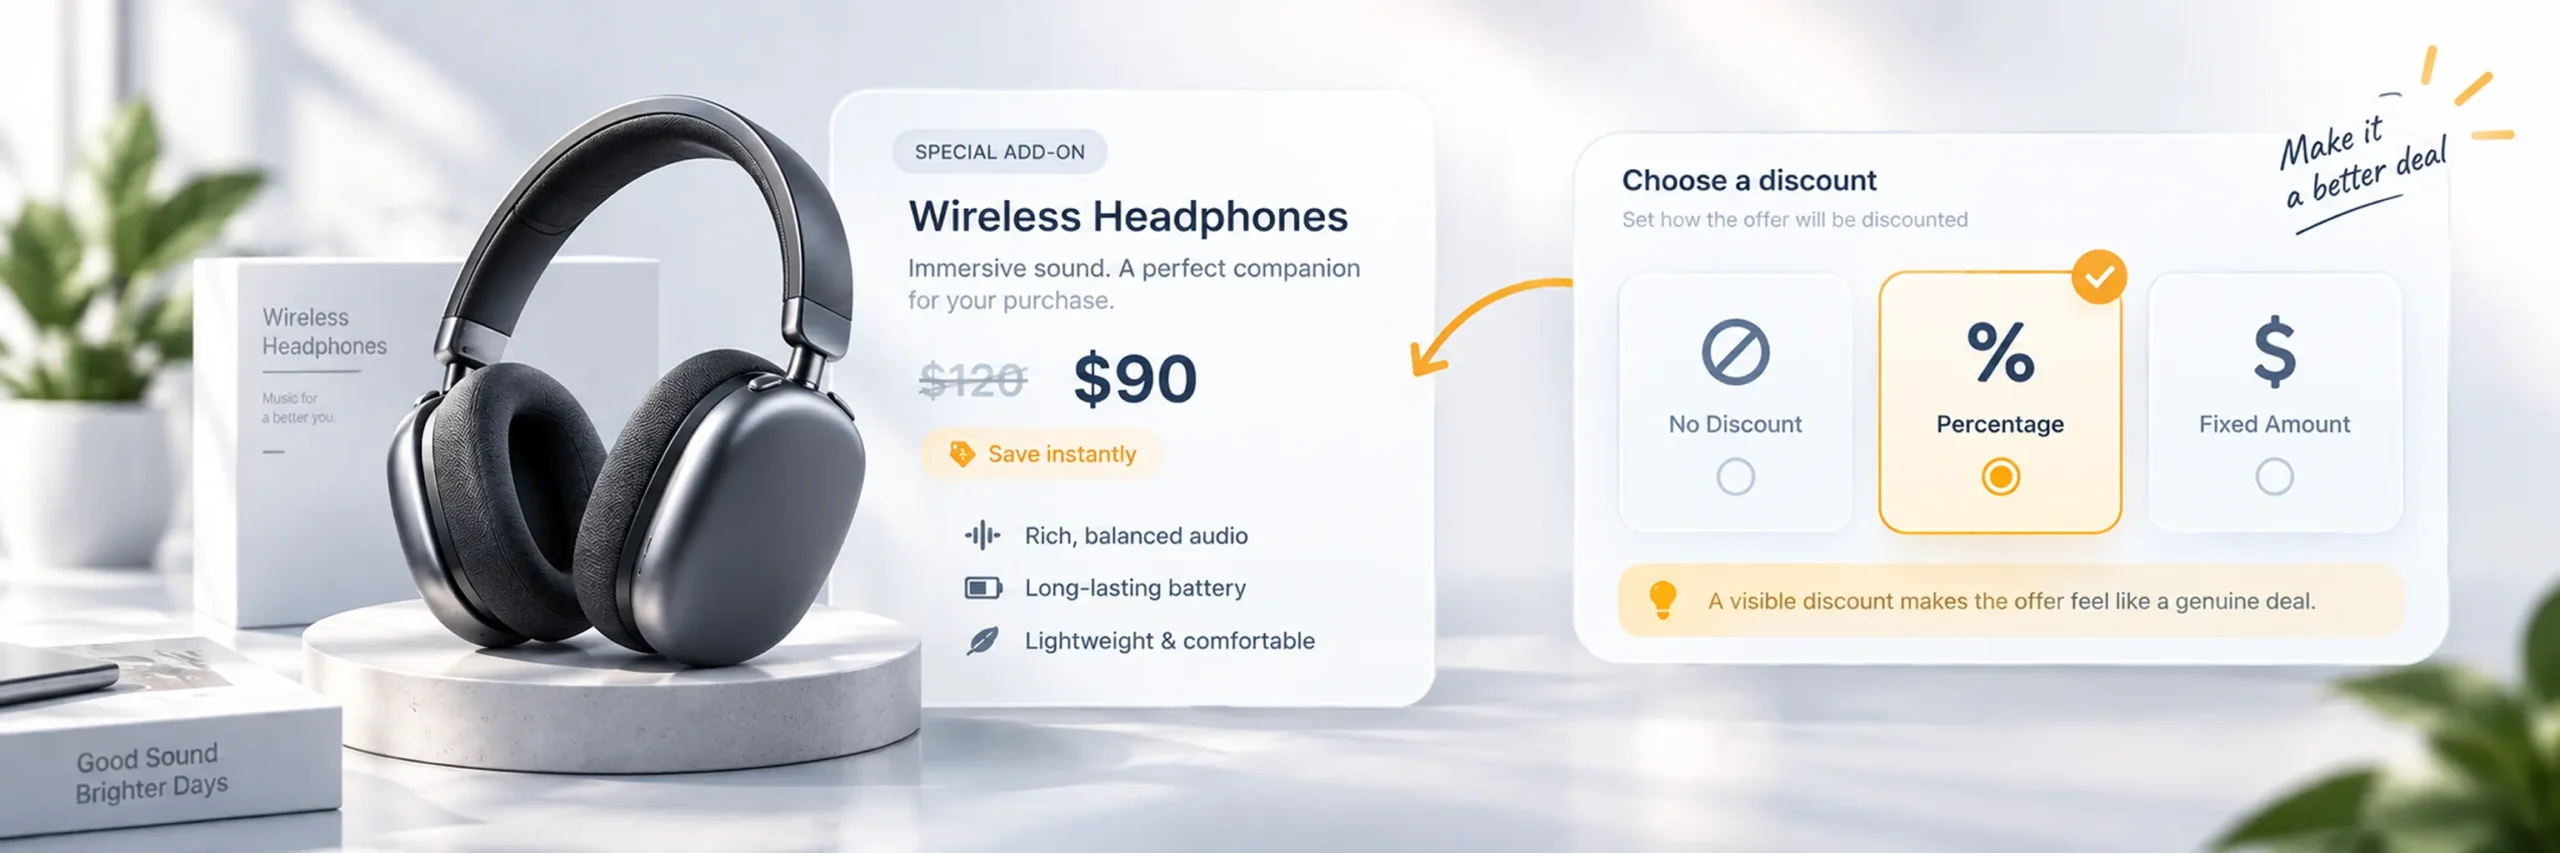
Under Discount Strategy, choose one of three options:
- No Discount – the offer product sells at its regular price.
- Percentage – applies a percentage discount, such as 10% off.
- Fixed Amount – subtracts a set dollar amount from the offer price.
If you choose Percentage, set the discount using the slider. If you choose Fixed Amount, enter the exact discount value. Either way, review the updated price shown in the preview before moving on, this is exactly what the customer will see.
A visible discount, even a modest one, tends to make a cart upsell feel like a genuine deal rather than just another product suggestion, so it’s worth using one unless you have a specific reason not to.
Step 7: Customize the Design
Click next to move into Step 3: Design.
Expand Addon Display Settings and configure:
- Badge Text — a short label like “10% Off” that draws attention to the offer.
- Display Position — choose where the offer appears on the cart page: Top of Cart Page, Before Cart Items Table, or After Cart Items Table.
From there, you can fine-tune the visual details:
- Expand Layout to adjust the corner radius of the offer box.
- Expand Colors to set the primary, background, text, and badge/button text colors.
- Expand Typography to adjust font size.
Use the live preview on the right-hand side to check how everything looks as you make changes, rather than guessing and publishing blind.
Step 8: Set Visibility Rules
Click next to move into Step 4: Rules.
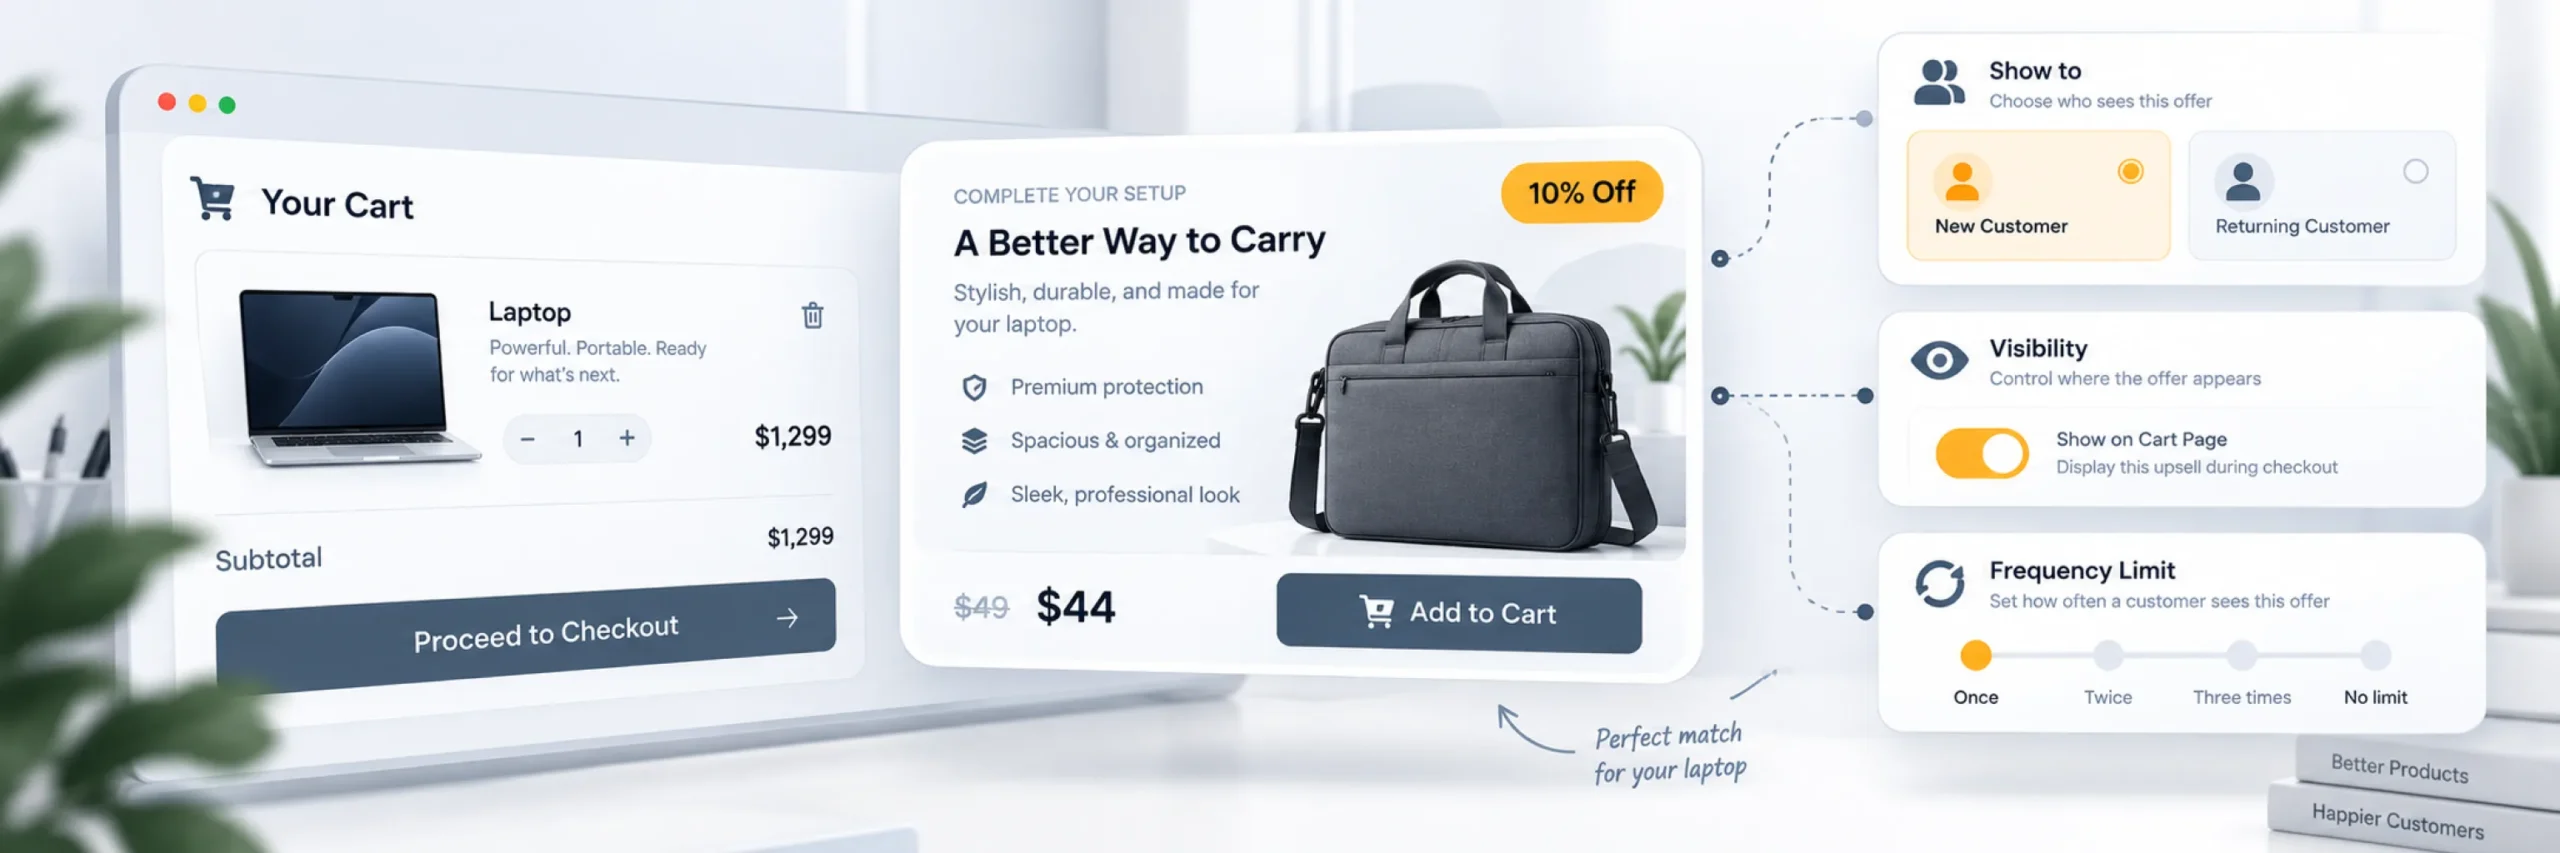
Under Customer Orders, choose how the campaign should account for a customer’s order history:
- No order count — the campaign ignores order history entirely.
- Returning Customer — the campaign only shows to customers who have ordered before.
- Custom Order Count — set a specific threshold.
If you choose Custom Order Count, select an operator (such as “at least” or “exactly”) and enter the required number of orders, then select which order statuses should count toward that number (for example, only completed orders, or also processing ones).
This is where you can differentiate between first-time visitors and repeat customers, showing a different cart upsell strategy to each group if that fits your store.
Step 9: Configure Advanced Visibility
Still within Step 4, enable Advanced under the Visibility section for finer control:
- Select which user roles should see the campaign. Leave all roles unselected to show it to everyone.
- Set a View Count Limit if you want to cap how many times a single customer sees the offer. Leave it empty for unlimited views.
This is useful if you want to avoid showing the same offer repeatedly to a customer who has already seen (and ignored) it several times.
Step 10: Set Campaign Priority
If you’re running more than one cart upsell campaign that could potentially match the same cart contents, use Campaign Priority to control which one wins.
Adjust the priority slider or number field, a higher value means this campaign takes precedence over other matching campaigns. This prevents two offers from competing for the same spot on the cart page.
Step 11: Schedule the Campaign
If this campaign should only run during a specific window, a seasonal promotion, a limited-time discount, enable Scheduling and set:
- Start Date & Time.
- End Date & Time.
If the campaign should run continuously with no end date, leave Scheduling disabled entirely.
Step 12: Publish the Campaign
Before going live, review every setting and check the preview one more time.
- Click Save Draft if you want to save your progress without activating the campaign yet.
- Click Publish Campaign to make it live on your store.
Note that an offer product must be selected before you’re able to publish, so double-check Step 5 if the Publish button isn’t working as expected.
Step 13: Test the Campaign
Never skip this step. Test the campaign the same way a real customer would, before assuming it’s working correctly.
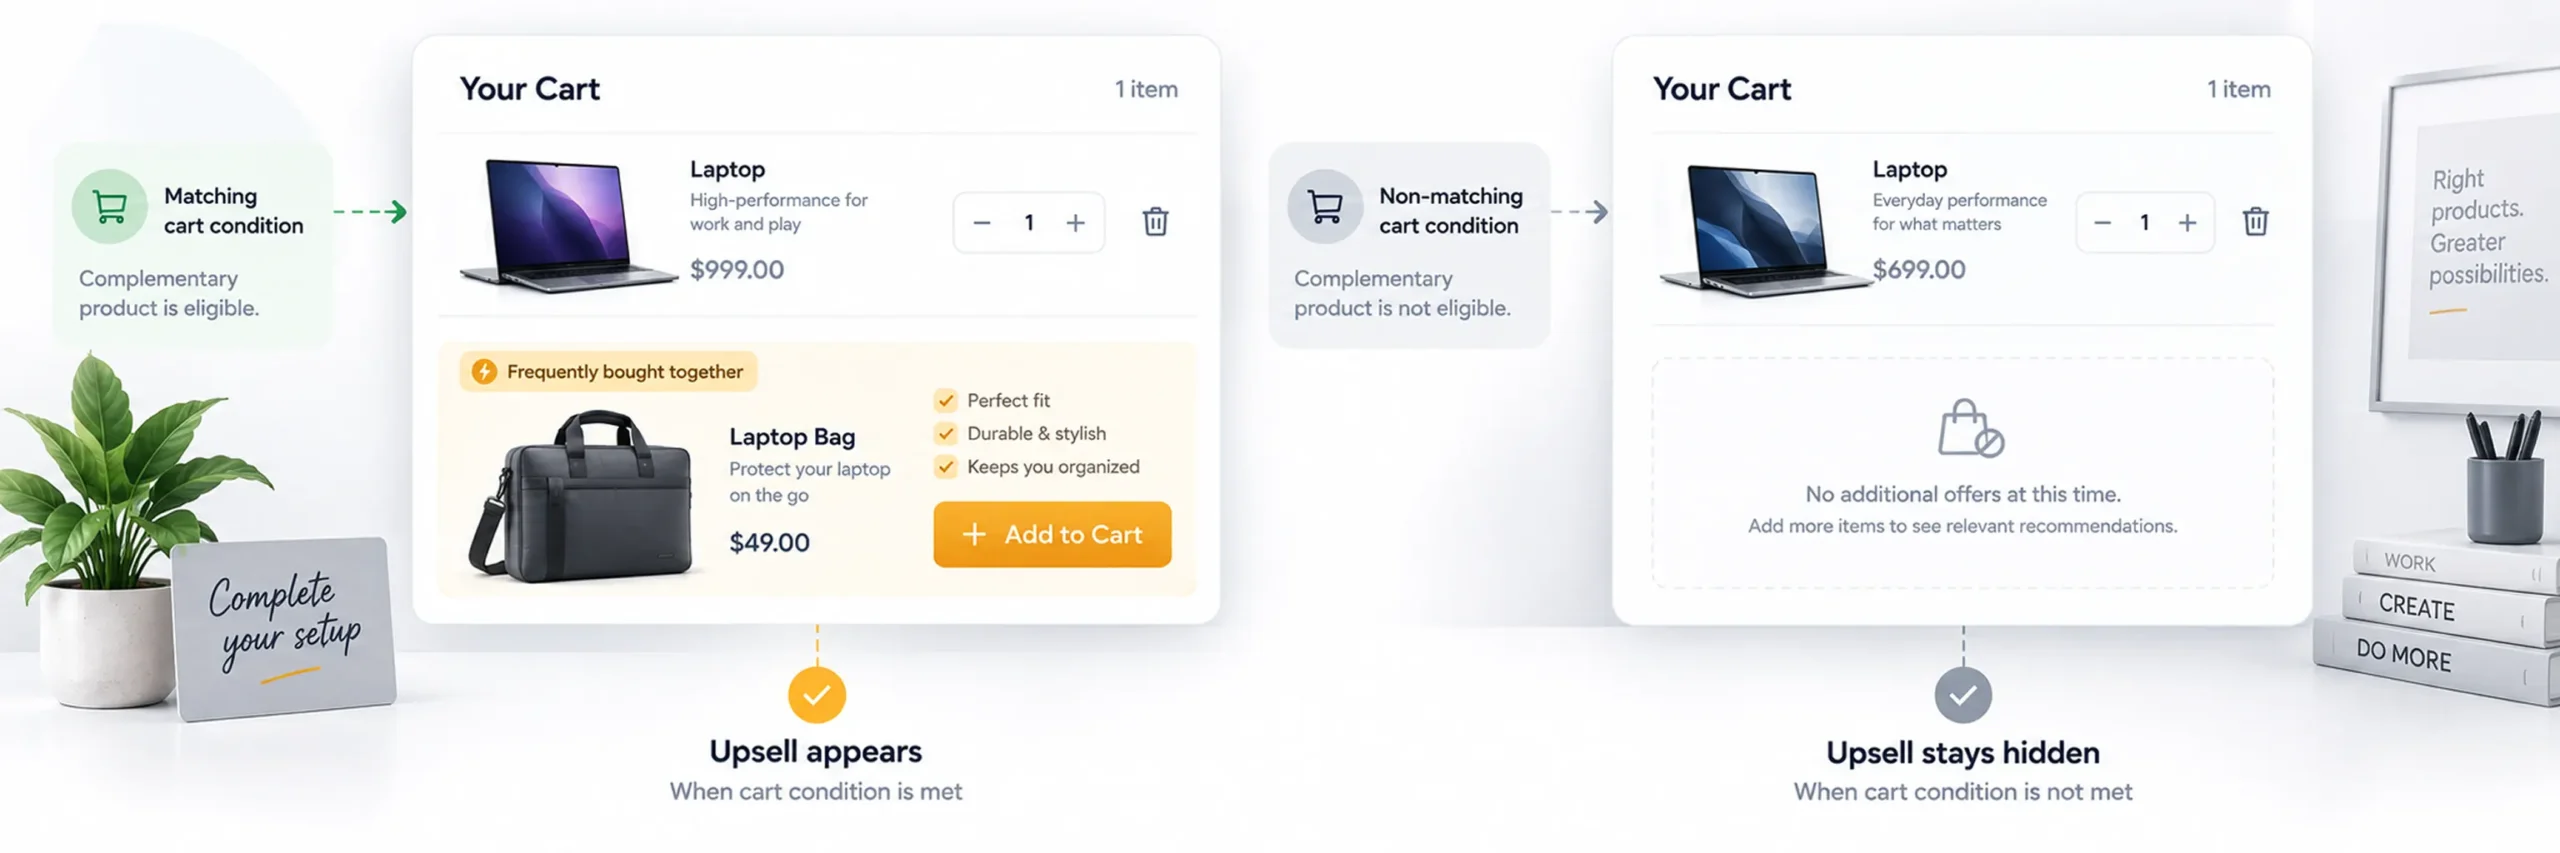
- Add a matching trigger product to the cart.
- Open the cart page and confirm the upsell appears in the position you selected.
- Check that the offer product, badge text, image, and price all display correctly.
- Confirm the discount calculation is accurate.
- Add the offer product to the cart and confirm it’s added correctly, with the right price.
- Add a non-matching product to a fresh cart and confirm the campaign does not appear, this checks that your trigger conditions are working as intended, not just that the offer shows up.
Testing both the positive case (offer appears) and the negative case (offer correctly stays hidden) catches most configuration mistakes before a real customer ever sees them.
Common Mistakes to Avoid
Using “All Products” as a trigger for a highly specific offer. If your offer product only makes sense with certain items, a broad “All Products” trigger will show it in irrelevant carts too, hurting conversion and cluttering the page.
Skipping the discount entirely. A cart upsell with no discount can still work, but a visible price break tends to noticeably increase how often customers accept the offer.
Forgetting to test the negative case. It’s easy to confirm an offer shows up correctly and forget to check that it correctly stays hidden for non-matching carts, which can result in an irrelevant offer appearing store-wide by accident.
Running too many competing campaigns without setting priority. If you have multiple Cart Upsell campaigns that could match the same cart, failing to set a clear priority can lead to unpredictable behavior about which offer actually shows.
Publishing without reviewing the design preview. A badge color that clashes with your theme, or text that’s too small to notice, can quietly tank an otherwise well-targeted offer.
Frequently Asked Questions
A product page upsell appears before the customer has added anything to their cart, often suggesting a better version of the item they’re viewing. A cart upsell appears after an item is already in the cart, which means the customer’s intent to buy is already confirmed, making it a good moment for a complementary suggestion.
No, only one offer product can be attached to a single campaign. If you want to recommend different products for different cart contents, set up separate campaigns, each with its own trigger and offer product.
Either can work. A percentage discount scales naturally with the offer product’s price, while a fixed amount is simpler for the customer to understand at a glance. Test both if you’re unsure which performs better for your specific offer.
Use the Customer Orders setting in Step 4 (Rules). Choose “Returning Customer” or set a Custom Order Count to target based on order history, then create a separate campaign with different settings for the audience you’re not targeting in the first one.
If only one campaign can match a given cart, priority doesn’t matter. If multiple campaigns could match the same cart contents, priority determines which one is actually shown, so it’s worth setting deliberately once you have more than one active campaign.
Yes. Testing confirms the offer appears correctly for matching products, the discount calculates properly, and just as importantly, that the offer stays hidden when trigger conditions aren’t met. Skipping this step is the most common reason a campaign behaves unexpectedly after launch.
Yes. Enable Scheduling in the campaign editor and set a start and end date and time. Outside of that window, the campaign won’t display, even if it’s published and the trigger conditions are met.
Conclusion
A cart upsell is one of the simpler offer types to set up, but it depends on getting the details right: choosing the right trigger, a genuinely complementary offer product, a discount that makes the deal feel worthwhile, and testing both the positive and negative cases before it goes live.
Once it’s set up, a well-targeted cart upsell keeps working in the background, showing the right offer to the right customer at exactly the moment they’re already committed to buying, without any extra manual effort on your part.
Ready to set up your first cart upsell campaign? Log in to your WordPress Dashboard, open PickPair, and follow the steps above to have it live in about 15 minutes.